

Creating a professional website no longer requires you to become a programmer. With WordPress and Divi, beginners can build modern business websites, portfolios, blogs, landing pages, and many other types of websites using a visual building process.
In this guide, I’ll show you the complete process of creating a WordPress website using Divi, from choosing a domain and hosting to setting up WordPress, installing Divi, designing your pages, making the website responsive, and preparing it for launch.
Whether you’re a student, freelancer, blogger, or small business owner, this guide will give you a practical roadmap to build your first website.
Quick answer: To create a WordPress website using Divi, you need a domain, WordPress hosting, a WordPress installation, the Divi theme, and a clear website structure. You can then use Divi’s Visual Builder to design your pages without writing code.
Table of Contents
What Is a WordPress Website Using Divi?
WordPress is a content management system (CMS) that allows you to create and manage websites without having to build everything from scratch with code.
Divi is a WordPress theme and visual website-building system from Elegant Themes. It provides a visual interface for designing pages and reusable website components.
With Divi, you can visually create layouts instead of manually writing HTML and CSS for every section. Elegant Themes’ documentation describes Divi’s Visual Builder as a visual way to build pages on the front end of a website.
For a beginner, the combination can be:
WordPress = Website platform
Divi = Design & visual building system
Hosting = Where your website lives
Domain = Your website address
For example:
sachintayde.com
Why Use WordPress With Divi?
There are many ways to build a website, but WordPress + Divi can be particularly useful if you want a visual, no-code-oriented workflow.
1. Build Without Extensive Coding
You can create layouts visually instead of coding every section manually.
2. Design Websites Faster
Divi provides reusable layouts, modules, design settings, and other tools that can speed up your workflow. Its documentation also includes tools such as the Divi Library for saving and reusing designs.
3. Create Different Types of Websites
You can use WordPress and Divi to create:
- Business websites
- Portfolio websites
- Blog websites
- Landing pages
- Agency websites
- Coaching websites
- School websites
- Restaurant websites
- Service websites
4. Responsive Design
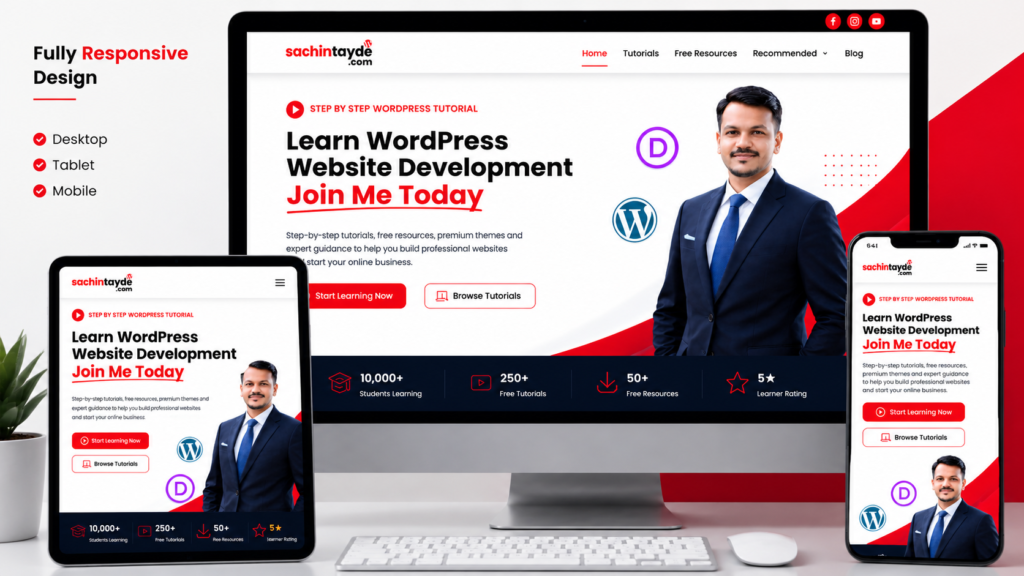
Your website needs to work on desktops, tablets, and smartphones. Divi provides responsive controls and previews so you can adjust designs for different device sizes.
5. Easy to Customize
You can change:
- Fonts
- Colors
- Spacing
- Buttons
- Images
- Sections
- Layouts
- Headers
- Footers
without rebuilding the entire website.
What You Need Before Starting
Before building your first WordPress website using Divi, prepare these things:
Essential Requirements
- Domain name
- WordPress hosting
- WordPress installation
- Divi membership/license
- Logo
- Brand colors
- Website content
- Images
- Website structure
You don’t need to know advanced programming to follow this guide.
Step 1: Choose a Domain Name
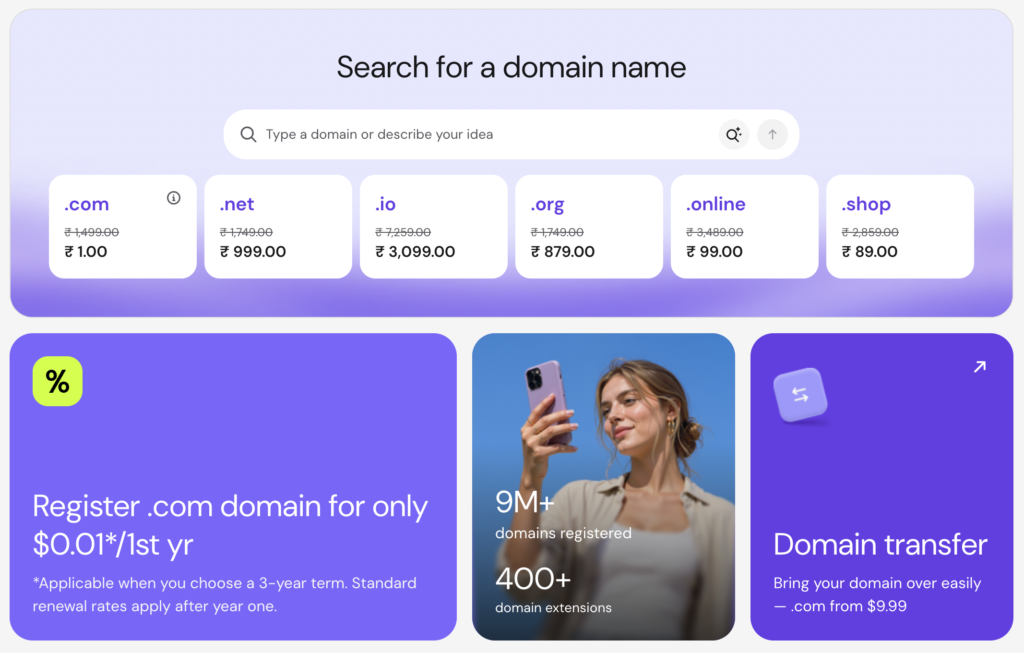
Your domain is the address people use to visit your website.
For example:
yourbusiness.com
Tips for Choosing a Domain
Choose a domain that is:
- Short
- Easy to remember
- Easy to spell
- Relevant to your brand
- Professional
For a business, a .com domain is often a strong choice when available.
Example
If your company is called “ABC Digital Solutions”, possible domains could be:
- abcdigitalsolutions.com
- abcwebsolutions.com
- abcmarketing.com
Avoid unnecessarily complicated domain names with numbers and multiple hyphens.
Step 2: Buy WordPress Hosting
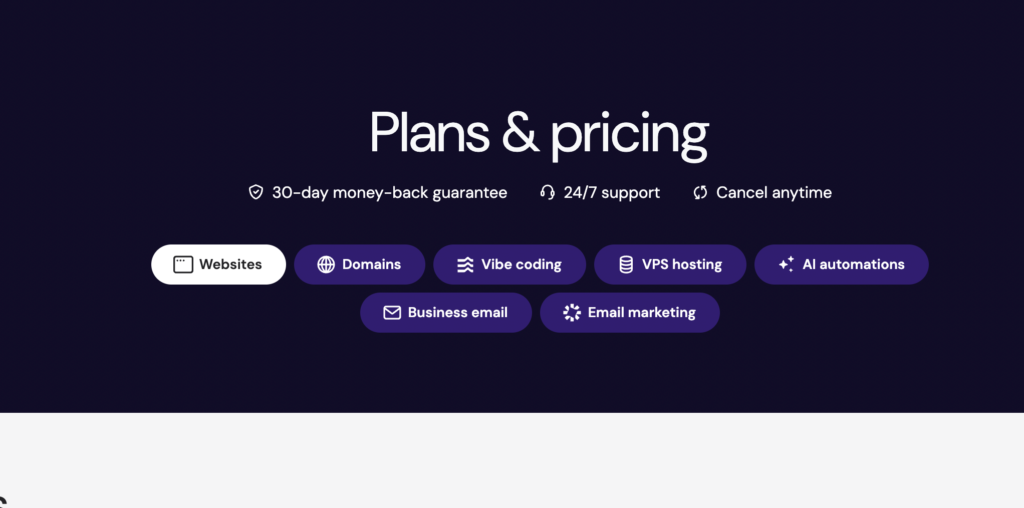
Your domain is your website’s address, but hosting is where your website files and database are stored.
For a beginner, choose hosting that provides:
- WordPress support
- SSL
- Backup options
- Good performance
- Easy WordPress installation
- Reliable support
- Easy management panel
My Recommended Hosting
If you’re looking for WordPress hosting, you can compare providers such as Hostinger based on your budget, traffic expectations, features, and support requirements.
If you use my affiliate link to purchase hosting, I may earn a commission at no additional cost to you.
👉 Get Recommended WordPress Hosting →
Always check the provider’s current pricing, renewal pricing, included resources, and terms before purchasing.
Step 3: Install WordPress
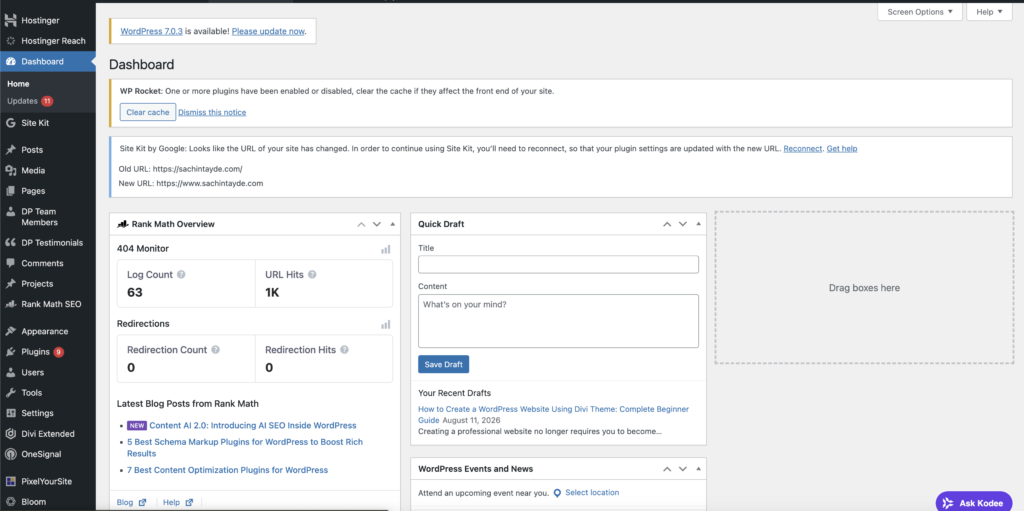
Once your hosting is ready, install WordPress.
Many hosting providers offer an automated WordPress installation process.
WordPress also provides official installation and getting-started documentation for users setting up a new website.
After installation, you’ll have access to your WordPress dashboard.
Your dashboard will generally be available at:
yourdomain.com/wp-admin
Log in using your administrator credentials.
Step 4: Install the Divi Theme
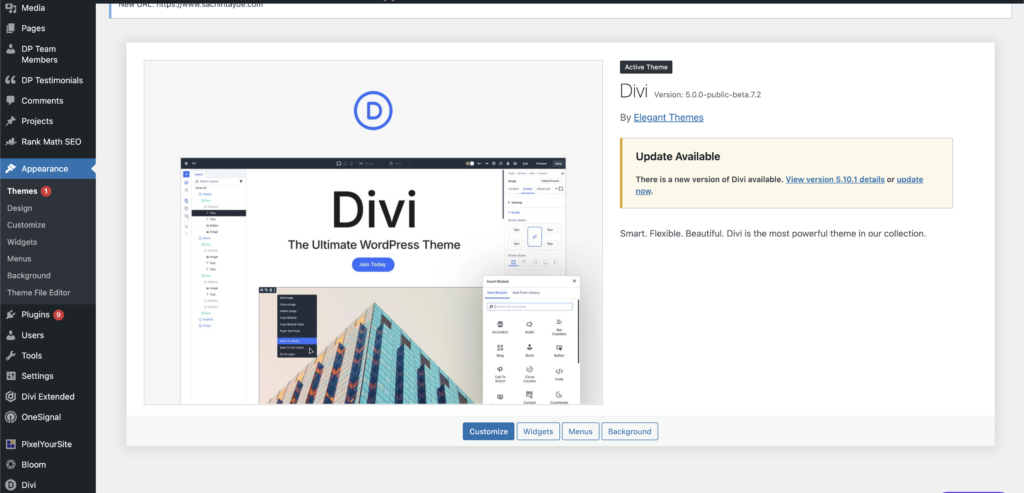
Now it’s time to install Divi.
According to Elegant Themes’ current documentation, you can install Divi through the WordPress dashboard by uploading the Divi theme ZIP file.
Basic Process
Go to:
WordPress Dashboard → Appearance → Themes → Add New Theme → Upload Theme
Upload your Divi ZIP file.
Then:
Install → Activate
After activation, authenticate your Divi installation using your Elegant Themes account credentials/API setup as required.
Elegant Themes provides official documentation for installing and authenticating Divi.
Step 5: Configure Divi
After activating Divi, spend some time configuring your basic website settings before designing every page.
Decide your:
Brand Colors
For example:
- Primary: #E3161A
- Secondary: #111111
- Background: #FFFFFF
- Light Grey: #F5F5F5
Typography
Choose:
- Heading font
- Body font
- Button font
Don’t use too many fonts.
A simple combination of one heading font and one body font usually looks more professional.
Global Design System
Create consistent settings for:
- Colors
- Typography
- Buttons
- Spacing
- Headings
- Sections
Divi provides global design and reusable tools that can help maintain consistency across a website.
Step 6: Plan Your Website Structure
Don’t start designing randomly.
First create a sitemap.
For a typical business website, you could use:
Home
│
├── About
├── Services
├── Portfolio
├── Blog
└── Contact
For a personal website:
Home
About
Services
Portfolio
Blog
Resources
Contact
Planning your structure first makes the design process much easier.
Step 7: Create Your Main Pages
Go to:
Dashboard → Pages → Add New
Create the pages you need.
For example:
Home
Introduce your business and your main offer.
About
Explain who you are and what you do.
Services
Show your services and benefits.
Portfolio
Display your previous work.
Blog
Publish educational articles.
Contact
Give visitors a way to contact you.
WordPress distinguishes between Pages and Posts: pages are generally used for more static content such as About and Contact, while posts are designed for regularly published blog/news content.
Step 8: Design Your Homepage With Divi
Now comes the fun part.
Open your homepage and launch the Divi Visual Builder.
Depending on your Divi version and setup, you can start from:
- A blank layout
- A premade layout
- An existing layout
- A reusable design
Elegant Themes’ documentation describes these options for getting started with Divi layouts.
Recommended Homepage Structure
A professional homepage could contain:
1. Header
Logo + navigation + CTA
2. Hero Section
Strong headline
Supporting text
CTA button
Hero image/video
3. Trust Section
Client logos, numbers, testimonials, or credibility indicators.
4. Services
Display your primary services.
5. About
Introduce the person/company behind the website.
6. Portfolio
Show previous projects.
7. Benefits
Explain why customers should choose you.
8. Testimonials
Show genuine customer feedback.
9. Blog
Display your latest articles.
10. Final CTA
Give visitors one clear next action.
Step 9: Create Header and Footer
A professional website needs a consistent header and footer.
Divi’s Theme Builder allows you to create custom templates for elements such as headers, footers, and post templates.
Header Example
Logo | Home | About | Services | Blog | Contact | Get Started
Footer Example
Column 1: Logo + short description
Column 2: Quick Links
Column 3: Services
Column 4: Contact Information
Then add:
- Copyright
- Privacy Policy
- Terms
- Social media links
Step 10: Make Your Website Mobile Responsive
This is one of the most important steps.
A website can look excellent on a desktop but terrible on a mobile phone if you don’t optimize it.
Check:
- Heading sizes
- Font sizes
- Button sizes
- Section spacing
- Image sizes
- Columns
- Navigation
- Line heights
- Padding
- Margins
Divi includes responsive controls that allow you to customize designs for different device sizes.
Test These Devices
Desktop → Tablet → Mobile
Step 11: Add Essential WordPress Plugins
Plugins extend WordPress functionality.
For example, you may need plugins for:
- SEO
- Security
- Backup
- Contact forms
- Performance
- Analytics
- Spam protection
WordPress explains that plugins extend the functionality of WordPress and can add features such as SEO, security, caching, e-commerce, and more.
The official WordPress Plugin Directory is one place to discover plugins.
Important
Don’t install dozens of plugins simply because they’re available.
Install only what your website actually needs and check compatibility, update history, and the plugin’s reputation before installing it.
Step 12: Optimize Your Website
A beautiful website isn’t enough.
It should also be fast and usable.
Optimize Images
Before uploading images:
- Resize unnecessarily large images
- Compress them
- Use appropriate formats
- Add descriptive filenames
Keep Your Website Clean
Remove:
- Unused plugins
- Unused themes
- Unnecessary scripts
- Duplicate functionality
Use Caching/Performance Tools
Depending on your hosting and setup, consider appropriate caching and optimization solutions.
Step 13: Basic SEO Setup
SEO helps search engines understand your website and can help people discover your content through search.
Start with the basics.
Optimize Your Page Title
Example:
WordPress Website Development Services | Sachin Tayde
Write a Useful Meta Description
Example:
Learn professional WordPress website development with Divi. Explore practical tutorials, website tips, tools, and resources.
Use Proper Headings
Use:
H1 → H2 → H3
Don’t use headings simply to make text larger.
Optimize Images
Add descriptive ALT text.
Example:
WordPress website created using Divi ThemeCreate Useful Content
Don’t write articles only for search engines.
Write for people first.
Step 14: Test Your Website Before Launch
Before telling people about your new website, test everything.
Design Checklist
☐ Logo works
☐ Navigation works
☐ Buttons work
☐ Forms work
☐ Images load correctly
☐ Mobile layout works
☐ Tablet layout works
☐ Desktop layout works
Technical Checklist
☐ SSL enabled
☐ WordPress updated
☐ Divi updated
☐ Plugins updated
☐ Backup configured
☐ Contact form tested
☐ Analytics configured
☐ SEO basics completed
Content Checklist
☐ No spelling mistakes
☐ No broken links
☐ Correct phone number
☐ Correct email address
☐ Correct social media links
☐ Privacy Policy available
Best Practices for Building a WordPress Website Using Divi
1. Design Before You Build
Don’t immediately start adding modules.
First decide:
- Website goal
- Target audience
- Sitemap
- Content
- Brand colors
- Typography
- CTA
2. Keep Your Design Consistent
Use the same:
- Button style
- Heading style
- Colors
- Spacing
- Border radius
- Typography
throughout the website.
3. Focus on User Experience
Ask yourself:
Can a first-time visitor understand what this website does within a few seconds?
If the answer is no, simplify the design.
4. Use Strong Calls to Action
Instead of generic:
Click Here
Use:
Get a Free Quote
Start Your Project
Book a Consultation
Download the Guide
5. Build Reusable Sections
If you create a great CTA section, save it for future projects.
Divi’s Library is specifically designed to save and reuse layouts and modules.
This can significantly improve your workflow when you’re building websites for multiple clients.
Common Mistakes to Avoid
Mistake 1: Installing Too Many Plugins
More plugins aren’t automatically better.
Only use plugins that solve a real requirement.
Mistake 2: Ignoring Mobile Design
Most visitors may experience your website on a smaller screen.
Always test mobile before launch.
Mistake 3: Using Huge Images
Large unoptimized images can negatively affect loading performance.
Optimize your images before uploading them.
Mistake 4: Too Much Text
Visitors usually scan websites before reading them deeply.
Use:
- Short paragraphs
- Bullet points
- Subheadings
- Visual hierarchy
Mistake 5: No Clear CTA
Every important page should have a logical next step.
Mistake 6: Designing Without a Plan
Don’t build your website section by section without knowing where you’re going.
Create your sitemap and content structure first.
Pro Tips From a WordPress Developer
Tip 1: Create Your Global Design System First
Set your colors, fonts, buttons, and spacing before designing every page.
This makes your website more consistent.
Tip 2: Build One Perfect Section
Instead of designing 10 average sections, create a few high-quality sections.
Tip 3: Save Reusable Designs
Create your own library of:
- Hero sections
- CTA sections
- Pricing tables
- Testimonials
- Contact sections
- Footers
Tip 4: Build With Future Editing in Mind
Your client should be able to update basic content without needing to rebuild the website.
Tip 5: Start New Divi Projects With the Current Divi Version
As of 2026, Elegant Themes recommends starting new websites directly with Divi 5; for existing Divi 4 sites, it recommends using a staging environment when migrating and testing compatibility before moving changes to production.
Conclusion
Creating a WordPress website using Divi can be a practical way for beginners to learn modern website development without starting with complex coding.
The basic process is:
Domain → Hosting → WordPress → Divi → Website Structure → Pages → Design → Responsive Optimization → Plugins → SEO → Testing → Launch
Don’t try to make your first website perfect.
Start with a simple project. Build a homepage, About page, Services page, Contact page, and Blog. Then improve the design, responsiveness, performance, and SEO as you gain experience.
If you’re serious about becoming a WordPress website developer, the best way to learn is to build real websites, not just watch tutorials.
Want to Learn WordPress & Divi Practically?
I also offer a 7 Days Practical Offline WordPress Website Development Course for beginners who want to learn how to build professional websites using WordPress and Divi.
👉 Learn WordPress & Divi →
0 Comments